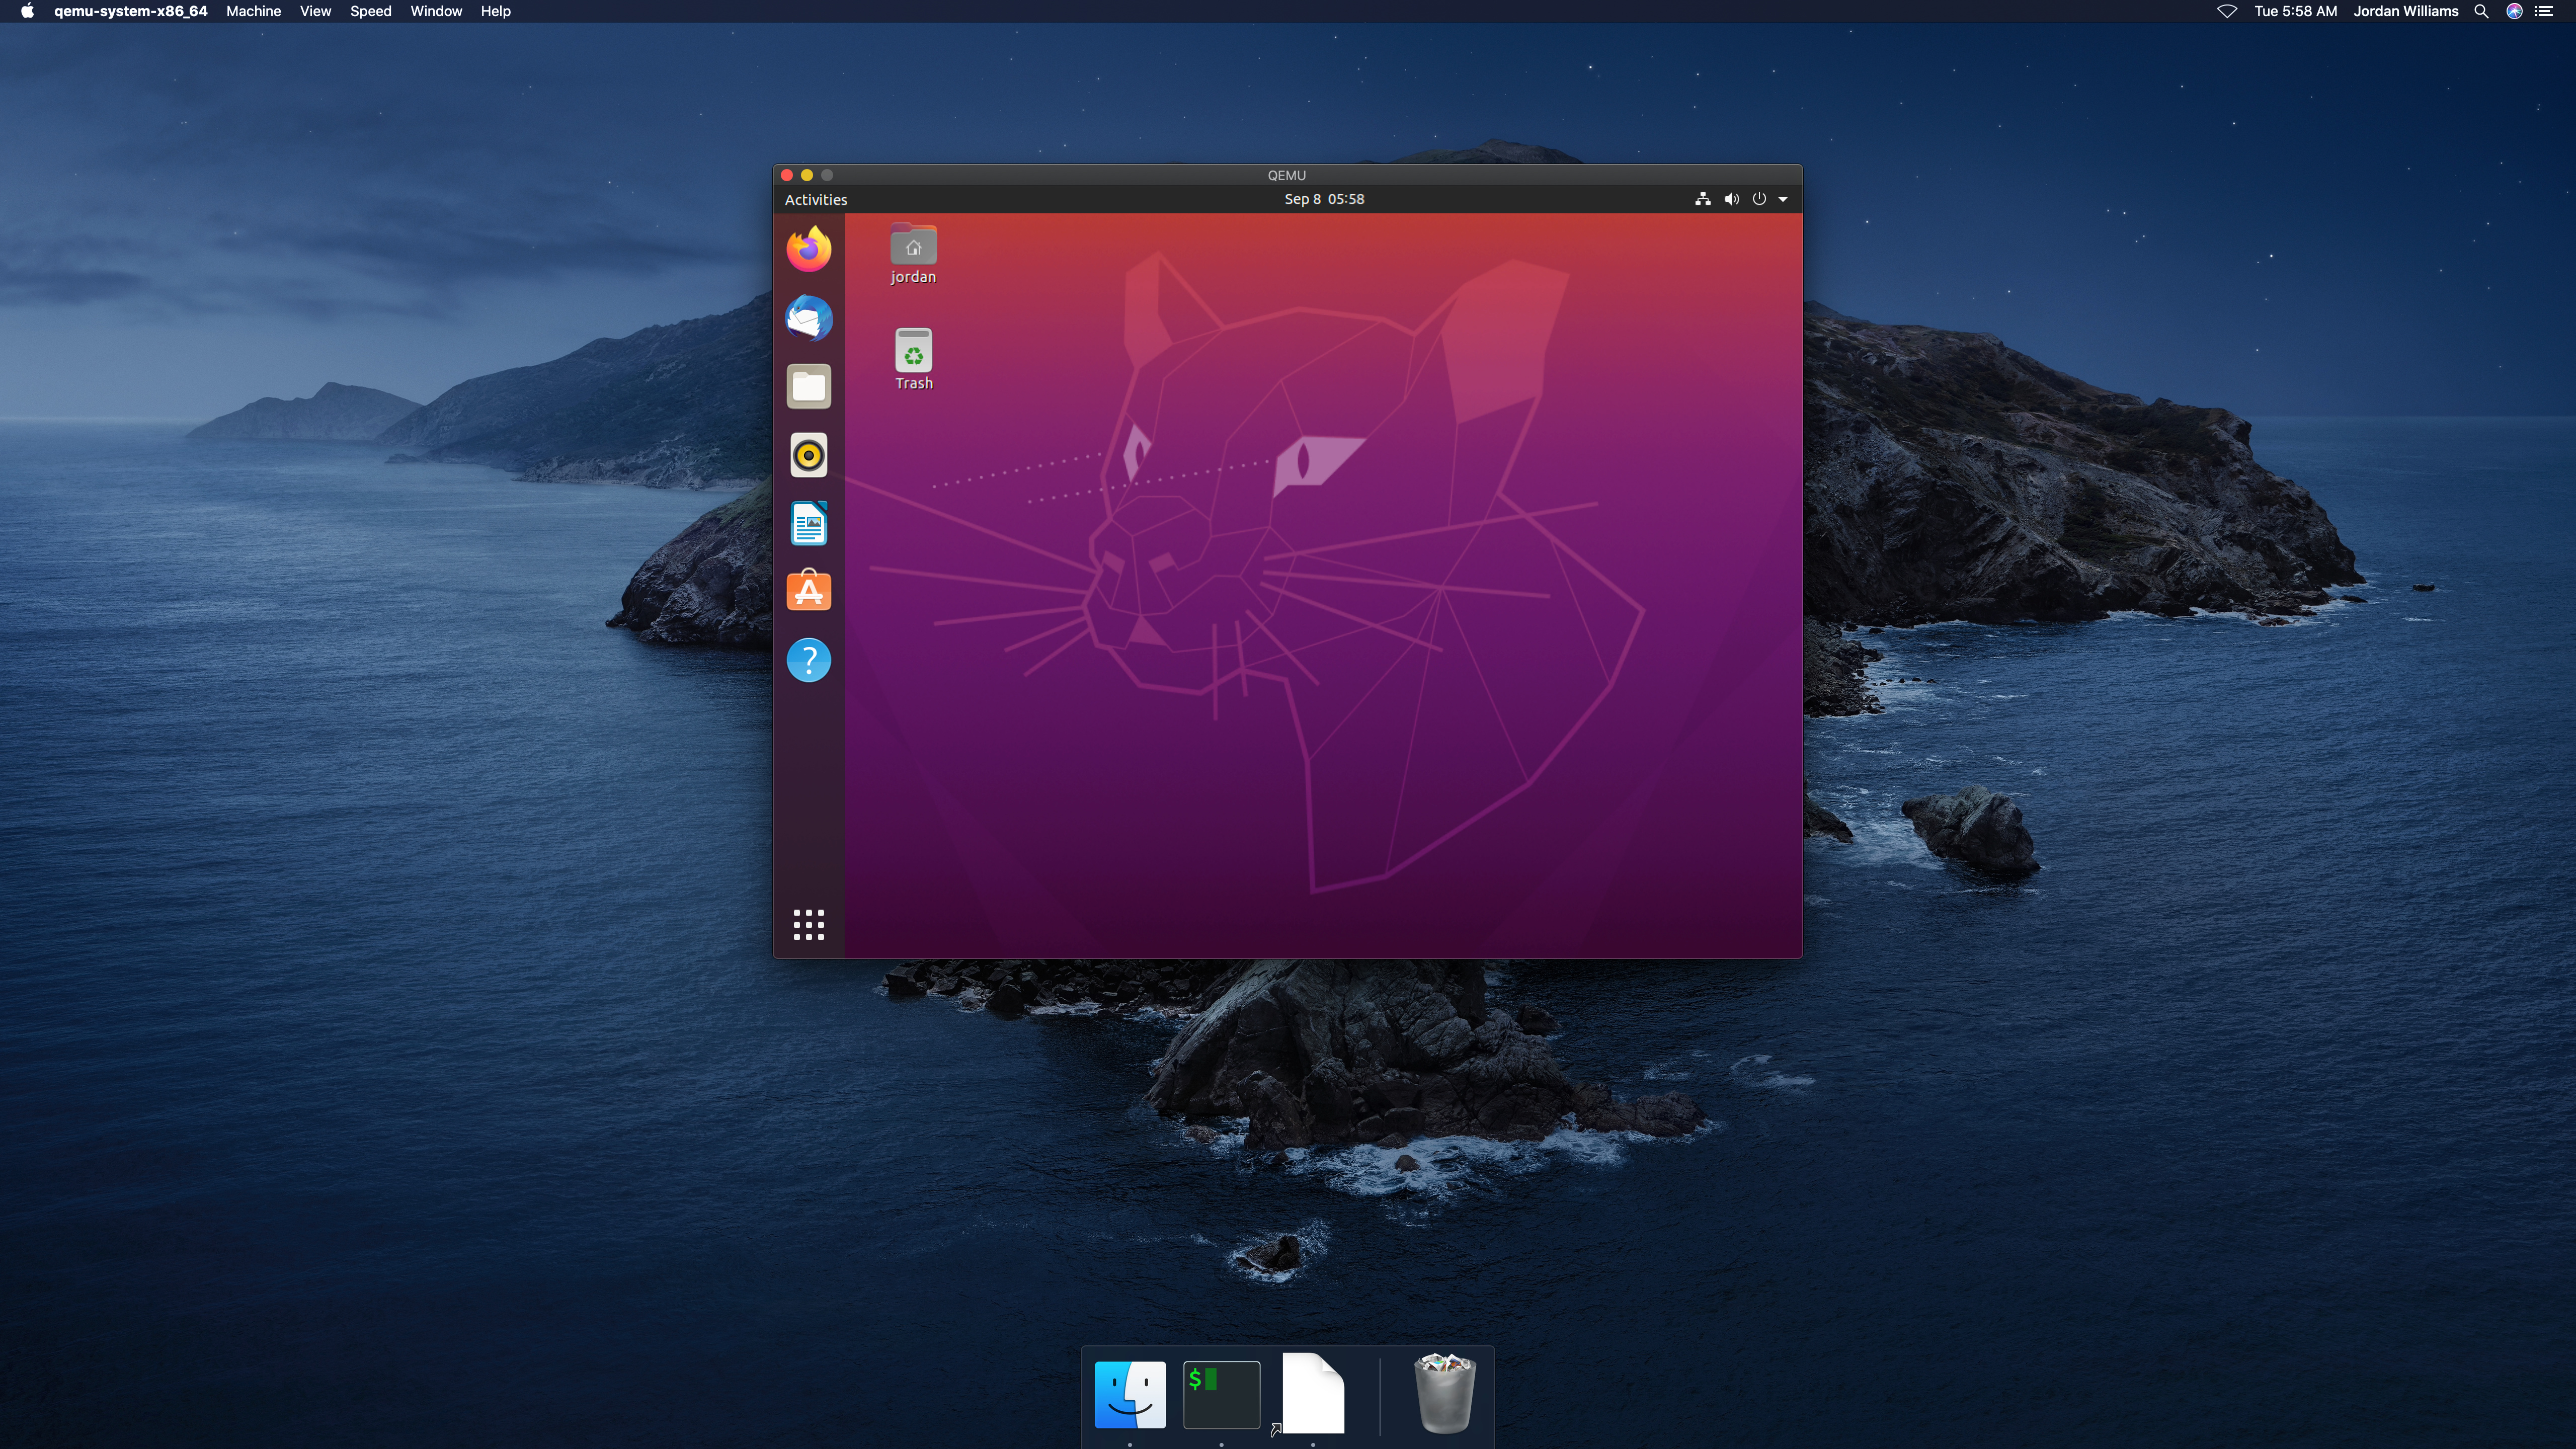
The Focal Fossa nestles in on Santa Catalina Island
Recently, I discovered that QEMU is available on macOS, with support for Apple’s native Hypervisor framework. This is particularly exciting because I have to spin-up Linux VMs on macs at my day job, and I’ve wanted to get some more hands-on experience with QEMU. QEMU runs VMs quite efficiently and provides a robust set of tools for creating, managing, and running virtual machines. Additionally, it’s open-source and not controlled by Oracle. I also recommend checking out xhyve, a port of FreeBSDs hypervisor bhyve to macOS, and multipass, a cross-platform application for running Linux VMs.
Tutorial
This is a quick run-through on how to create and run a virtual Ubuntu 20.04 desktop machine on macOS Catalina using either QEMU 5.1 via Homebrew or QEMU 5.0 via MacPorts. This guide assumes you have familiarity with the command-line, virtual machines, ssh, port-forwarding, and graphical Linux installers.
-
Install either Homebrew or MacPorts according to their installation instructions.
-
Pull down the qemu package.
- Homebrew
-
$ brew install qemu - MacPorts
-
$ sudo port install qemu
-
Create a 60 Gigabyte image to use as the VMs hard disk.
$ qemu-img create -f qcow2 ubuntu2004.qcow2 60G Formatting 'ubuntu2004.qcow2', fmt=qcow2 size=64424509440 cluster_size=65536 lazy_refcounts=off refcount_bits=16 -
Download the Ubuntu 20.04 desktop installer.
$ curl -L -o ubuntu-20.04.1-desktop-amd64.iso https://releases.ubuntu.com/20.04/ubuntu-20.04.1-desktop-amd64.iso % Total % Received % Xferd Average Speed Time Time Time Current Dload Upload Total Spent Left Speed 100 2656M 100 2656M 0 0 8070k 0 0:05:37 0:05:37 --:--:-- 7717k -
Verify the ISO by following Canonical’s detailed tutorial.
-
Boot the ISO installer
$ qemu-system-x86_64 \
  -accel hvf \
  -cpu host,-rdtscp \
  -smp 2 \
  -m 4G \
  -usb \
  -device usb-tablet \
  -vga virtio \
  -display default,show-cursor=on \
  -device virtio-net,netdev=vmnic -netdev user,id=vmnic \
  -audiodev coreaudio,id=coreaudio \
  -device ich9-intel-hda -device hda-output,audiodev=coreaudio \
  -cdrom ubuntu-20.04.1-desktop-amd64.iso \
  -drive file=ubuntu2004.qcow2,if=virtio
That’s a long command-line, so I’ve broken it down option-by-option below. For more details, refer to the QEMU System Emulation User’s Guide.
-accel hvf-
Accelerate the machine by taking advantage of the macOS hypervisor,
hvf.kvmis available for Linux andwhpxfor Windows. -cpu host,-rdtscp-
Due to this bug in Apple’s Hypervisor framework, the RDTSCP virtualization feature on my mac’s CPU needs to be disabled. The
hostkeyword enables CPU passthrough, while the-rdtscpoption disables the troublesome RDTSCP feature. If you experience issues due to host passthrough, you can use the defaultcpuoption,qemu64, which emulates the CPU instead of passing through. -smp 2-
Allocate two threads for the VM.
-m 4G-
Allocate 4 GB of RAM for the VM.
-usb-
Enable a USB bus.
-device usb-tablet-
Avoid having to grab the mouse, making it easier to switch between interacting with the VM and the host.
-vga virtio-
Use the virtio display card.
-display default,show-cursor=on-
Don’t hide the cursor.
-device virtio-net,netdev=vmnic -netdev user,id=vmnic-
Pass-through networking with virtio.[1]
-audiodev coreaudio,id=coreaudio-
Add a backend audio driver for Apple’s Core Audio.
-device ich9-intel-hda -device hda-output,audiodev=coreaudio-
Add an audio bus and an output device utilizing the
coreaudiodriver created previously. This enables audio output from the guest. -cdrom ubuntu-20.04.1-desktop-amd64.iso-
Attach the Boot ISO in the VM as a CD.
-drive file=ubuntu2004.qcow2,if=virtio-
Attach the hard-disk created earlier, using virtio drivers.
The virtio options effectively pass-through directly to the hardware instead of emulating physical devices. Skipping this layer of emulation can significantly improve VM performance.
-
Complete the installation in the virtual machine window which should appear after starting the VM.
-
After the installation, run the virtual machine from the hard disk.
$ qemu-system-x86_64 \
  -accel hvf \
  -cpu host,-rdtscp \
  -smp 2 \
  -m 4G \
  -device usb-tablet \
  -vga virtio \
  -display default,show-cursor=on \
  -usb \
  -device virtio-net,netdev=vmnic -netdev user,id=vmnic \
  -audiodev coreaudio,id=coreaudio \
  -device ich9-intel-hda -device hda-output,audiodev=coreaudio \
  -drive file=ubuntu2004.qcow2,if=virtio
SSH
It’s a small step away to run the virtual machine headless and access it through ssh.
-
Run the virtual machine headless, forwarding ssh over port
9001on the host.$ qemu-system-x86_64 \ -accel hvf \ -cpu host,-rdtscp \ -smp 2 \ -m 4G \ -device usb-tablet \ -usb \ -nographic \ -device virtio-net,netdev=vmnic \ -netdev user,id=vmnic,hostfwd=tcp:127.0.0.1:9001-:22 \ -drive file=ubuntu2004.qcow2,if=virtio -
Enable SSH in the guest OS.
-
ssh into the machine from the host.
$ ssh -p 9001 localhost
Conclusion
You should now be able to easily build and run Linux desktop virtual machines with QEMU on macOS.